
GPS-receiver
GPS-receiver reduces the number of "dead zones" in high-rise urban areas

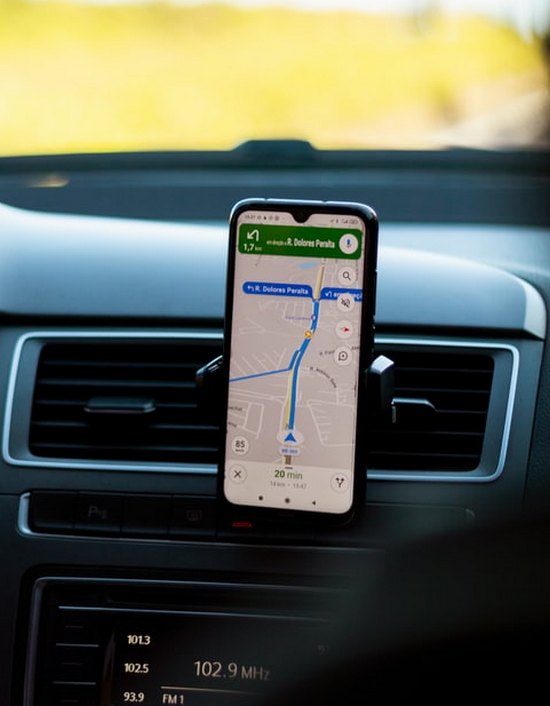
Route calculation
Route calculation based on traffic information

3G/4G
3G/4G (hands-free) mobile communication support


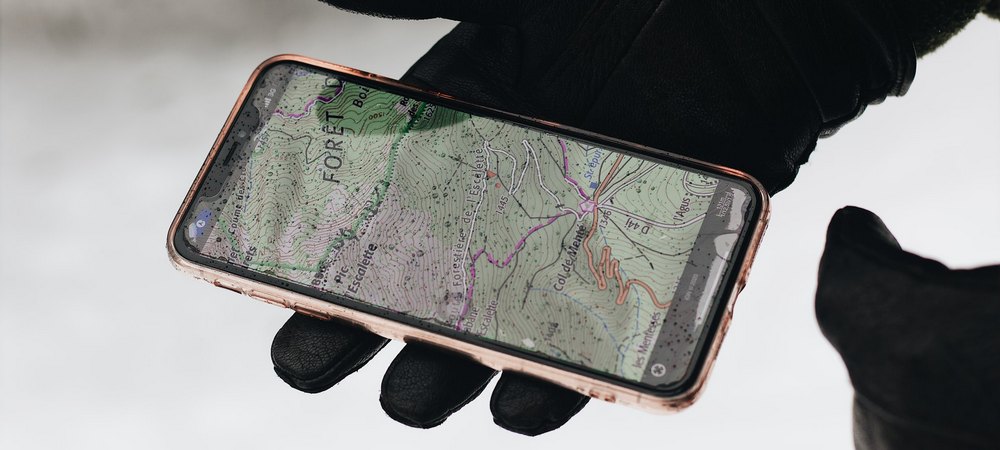
Geo-positioning
Is a key feature of any program using map services. Thanks to GPS and Google Maps, a geo-application can accurately fix the user's location on the map with an accuracy of only a few meters.

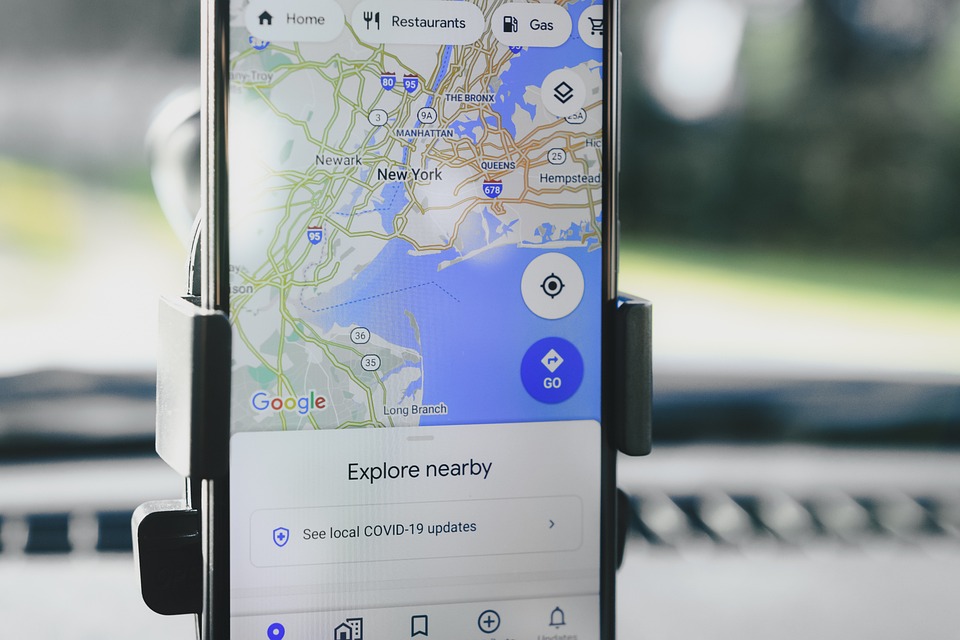
Finding Points of Interest
POI on the map is another key function of geo-applications. Services of such systems allow adding markers to maps, indicating the location of landmarks and other objects. It could be not only architectural monuments and museums, but also addresses of cafes, hotels, retail outlets, warehouses, advertising media, petrol stations, parkings, etc.
Digital Marketing Analysis
Proin maximus dictum placerat lorem.
Conversion Rate Optimization
Maximus varius libero, dictum placerat.

Social Media Marketing
Varius libero, dictum placerat porun lora.


Using Google Maps on Websites: 10+ Examples
Without a doubt, we’ve all come across and used Google Maps, a tool that enables us to locate desired places, obtain driving routes, and examine maps. However, for web designers, crafting websites centered around Google Maps can pose a significant…

A Guide to Incorporating Maps in Your Website Design
In the vast digital landscape, maps have emerged as an indispensable tool in website design. They serve not only as practical navigational aids but also enhance the overall user experience by providing visual context and promoting engagement. Whether it’s a…
GPS Beyond Navigation: Innovative Applications Changing Our World
In today’s rapidly evolving technological landscape, GPS, or Global Positioning System, has grown far beyond its initial purpose of simple navigation. Though many of us think of GPS in terms of mobile maps or car navigation systems, its applications have…
Navigating Real Estate: How GPS Functional Applications Are Changing the Game
In today’s digital age, the once-simple paper map has evolved into an intricate web of GPS functionalities. While GPS, or Global Positioning System, is often linked to in-car navigation or mobile maps for hiking, its applications have branched out into…

Chinese authorities require digital content stores to remove more than 100 apps
Chinese authorities have obliged digital content stores operating in the country to remove 106 mobile applications, including a client of the popular social network Douban. China’s Ministry of Industry and Information Technology (MIIT) said that the requirement to remove apps…